If you just downloaded a Lightroom preset, click this link to see the easy steps on how to import or install an LR preset to your Lightroom.
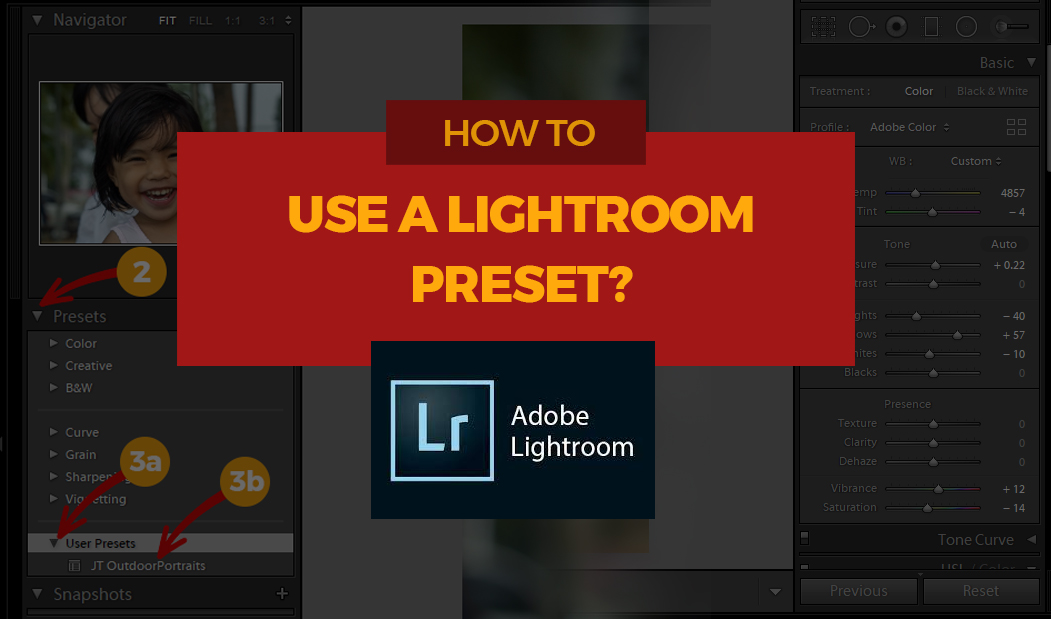
Whether you just installed a Lightroom preset or made your own, here are the steps to use an LR preset already installed in your Lightroom.
Step 1: Go to Develop Module
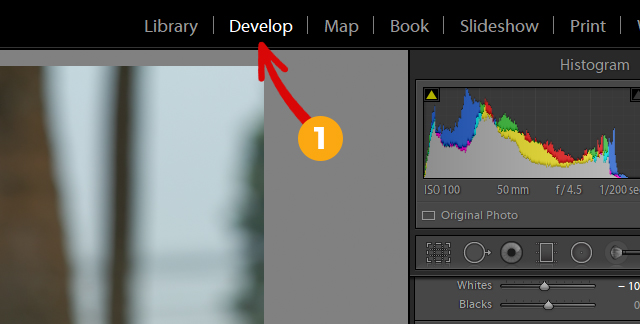
Launch your Lightroom and go to the Develop Module. Be sure to select the photo where you want the new Lightroom preset to be applied.
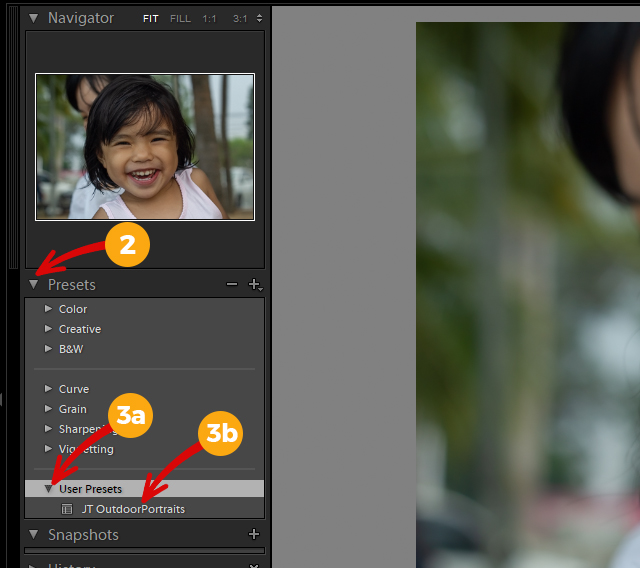
Step 2: Go to Presets panel
Click the cascade toggle button (the triangle pointing to the right, #2 in the image below) to see the list of available LR presets. LIghtroom provided you with several presets that you can freely use for your photos.
Step 3: Click the LR preset name
If you installed a new LR preset, it is usually at the User Presets group. Click the cascade toggle button of the User Preset group to your LR preset, then click the preset name. That’s all. You already applied the new settings/treatment to the selected photo.
You may use the Ctrl+Z (Cmd+Z) to Undo and Ctrl+Y (Cmd+Y) to Redo, or use the ‘\’ button on your keyboard to see a before-and-after view of your photo.
2 thoughts on “How to use a Lightroom Preset?”