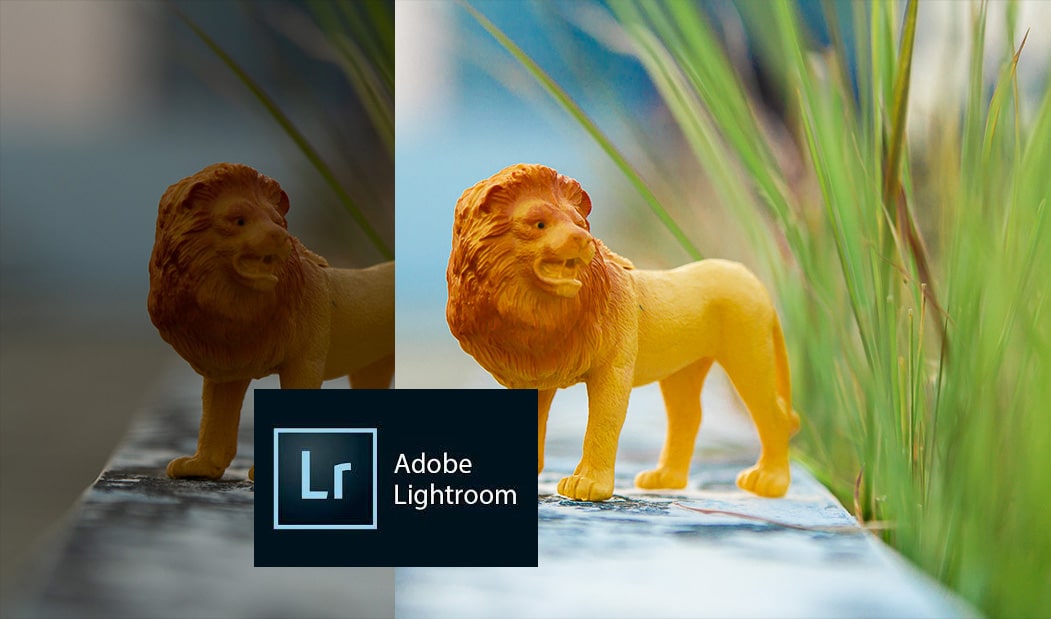
In this article, you will see sample photos treated with Adobe Photoshop Lightroom (LR). If you have not used LR before, you may watch this video to get started with it.
The original photos used in these examples were taken with raw file settings using a Canon camera, thus having the .CR2 filename extension and with so much data that can be pulled out using Lirghtroom. The treated photos were exported with JPEG format.
1. Shadow Slider for Sunset
[bafg id=”389″]
The following properties were modified for the image above:
- For brightness: Exposure, Contrast, Highlight, Shadow, Black, White, and Temp for white balance.
- For sharpness: Texture, Clarity, Sharpening, and Luminance (under Details section).
- The Crop tool is use to put the sun on the Rule of Thirds line.
Note that in this photo, we want to brighten the overall image a bit to see the buildings, but not washing out the color of the sun. The Shadow is the key setting to achieve this kind of result most of the time. Also, we still want to feel the sunset (dark) mood as the photo was taken towards the night time.
2. Cropping for Rule of Thirds
[bafg id=”386″]
The following are the settings used for the image above:
- For brightness: Exposure, Contrast, Highlight, Shadow, Black, White, and Temp for white balance.
- For sharpness: Texture, Clarity, Sharpening, and Luminance (under Details section).
- The Adjustment Brush tool is used to brighten the subject a little bit.
- Also, the Crop tool is use to turn the image in right orientation, and to align the subject’s face on the Rule of Thirds line.
3. Adjustment Brush Tool for Catchlight
[bafg id=”373″]
The following are the sliders used for the photo above.
- For brightness: Exposure, Contrast, Highlights, Shadow, and Temp for white balance.
- For sharpness: Texture, Clarity, Sharpening, and Luminance (under Details)
- The Adjustment Brush Tool is also used to brighten the eyes a little bit.
- Also, the Crop tool is used to align the eyes with the Rule of Thirds line.
4. HSL & Color Picker for Colors 1
[bafg id=”392″]
Aside from the usual brightness, white balance, and sharpening treatments, the sliders under HSL/Color section were used to achieve the result. The Color Picker is very handy too.
5. Vibrance & HSL
[bafg id=”393″]
Aside from the usual brightness, white balance, and sharpening treatments, the Vibrance slider under the Basic section is used to enhance colors. Then individual colors were balanced using the HSL sliders.
As you have probably noticed, there are sliders commonly used in Lightroom. Knowing what each slider can do and the different output it can give to the photo makes it easy to work with Lightroom the next time around.
Basically, one will have to deal with the brightness, white balance, colors, sharpness, and photo orientation to achieve the desired result. The other settings are simply for added effects (or filter).
If you have photos with brightness, colors, white balance that are not ‘right’ don’t discard it right away. With Lightroom and your creativity, you can put it in your ‘for keeps’ collections.


One thought on “Sample photos treated with Adobe Lightroom”