
Pixlr E is one of the favorite online alternatives for Photoshop. It is not only free but very easy to use as well. In this tutorial, you will learn how to slice a text using the Polygonal Lasso tool.
Read and follow along if you prefer a text-based tutorial.
The main meat of the sliced text effect starts on Step 4 where the text is added and turns into a rasterized layer. But for the sake of achieving the same effect, we will start by making a new file in Pixlr E.
Step 1: Make the file from scratch
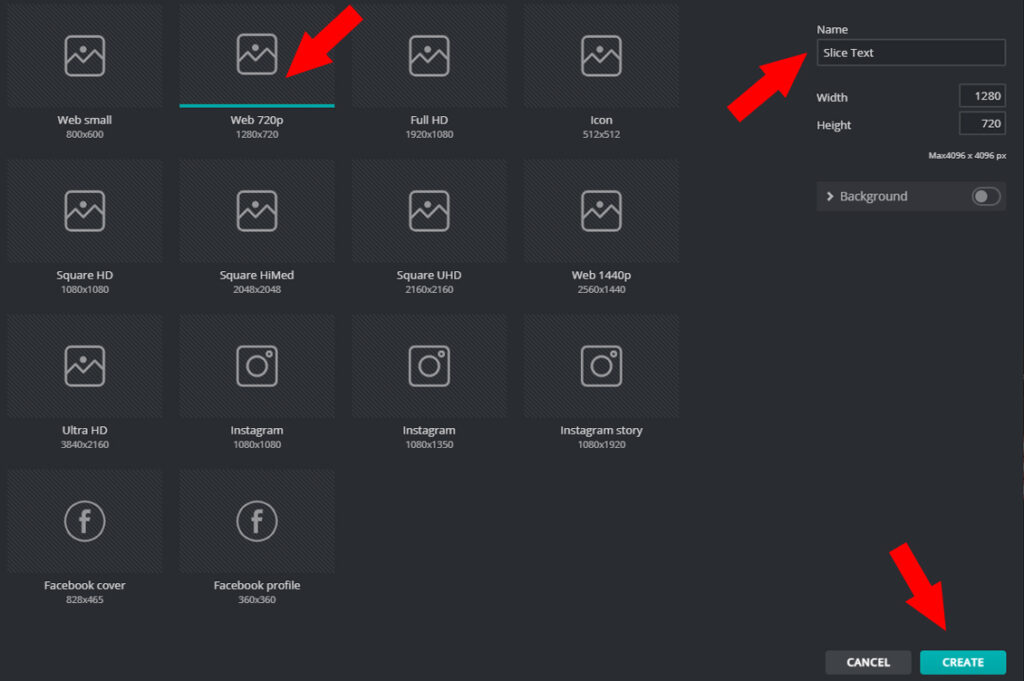
1. Log in to your account on Pixlr E and start with a blank file. I used the Web 720p blank template. Name your new file accordingly, and hit the Create button.
Step 2: Add the pizza image as the background
1. Add an image of pizza from a Google search. It’s basically a copy-paste technique from Google search results to Pixlr E.
2. Once the pizza image is on your Pixlr E, you may want to use the Arrange tool to move the image as desired.
Step 3: Cover the pizza image with a semi-transparent Shape layer
1. Click the Shape tool and apply a white color.
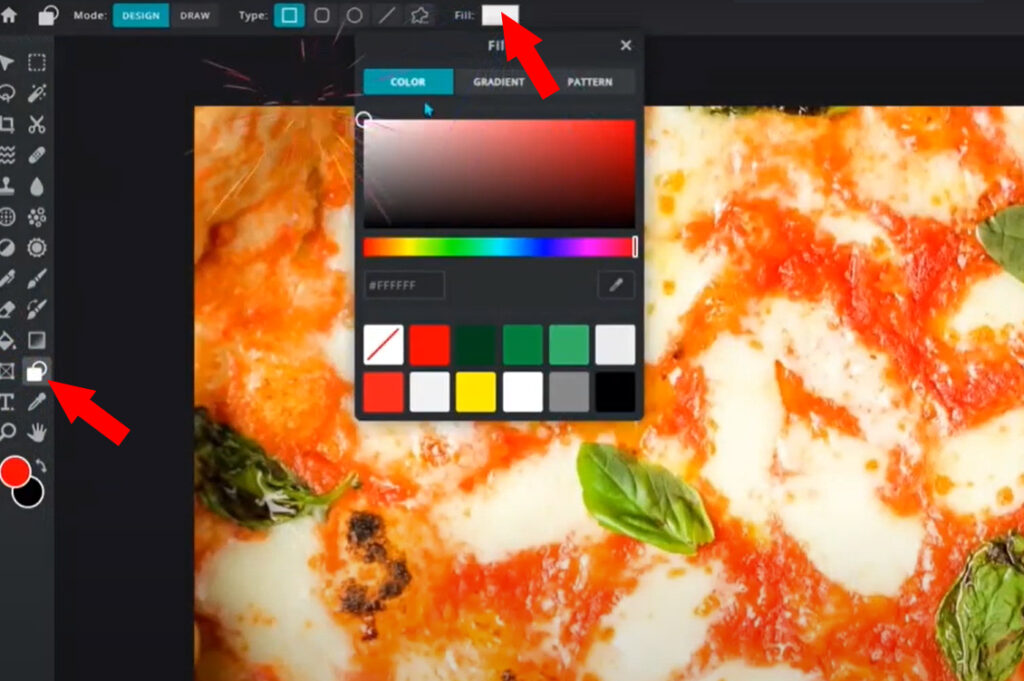
2. Drag on the canvas covering the whole background.
3. Go to the Layers panel. Click the 3 dots from the Shape layer.
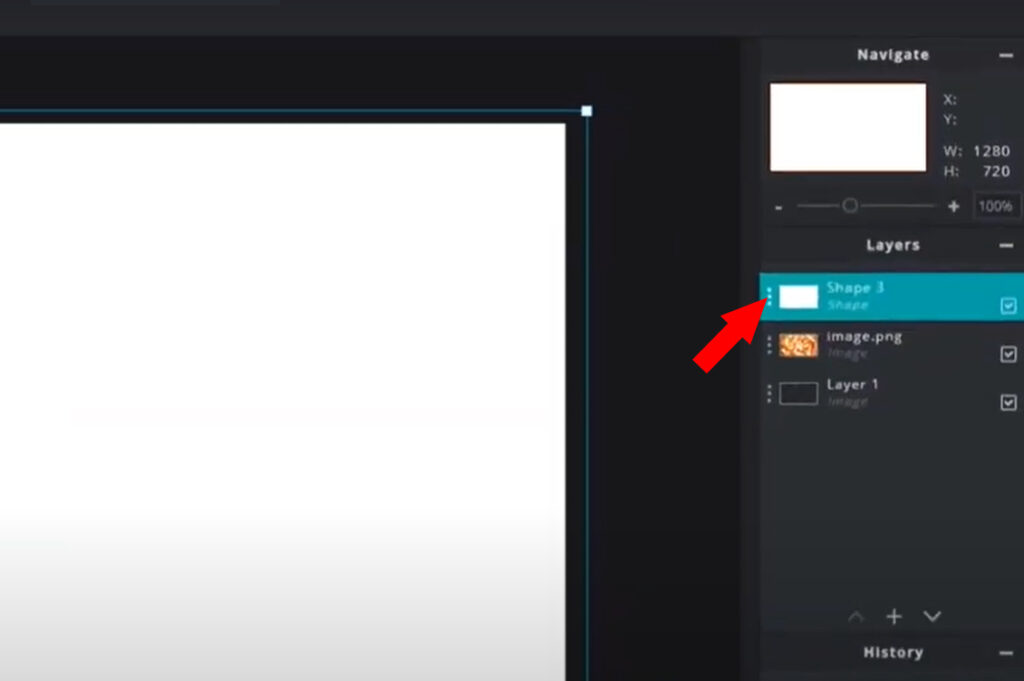
4. Adjust the Transparency value somewhere in the middle to make the Shape layer semi-transparent.
5. Lock both the background and shape layers.
Step 4: Work with the main text
1. Select the Text tool and type ‘Slice’ on the canvas.
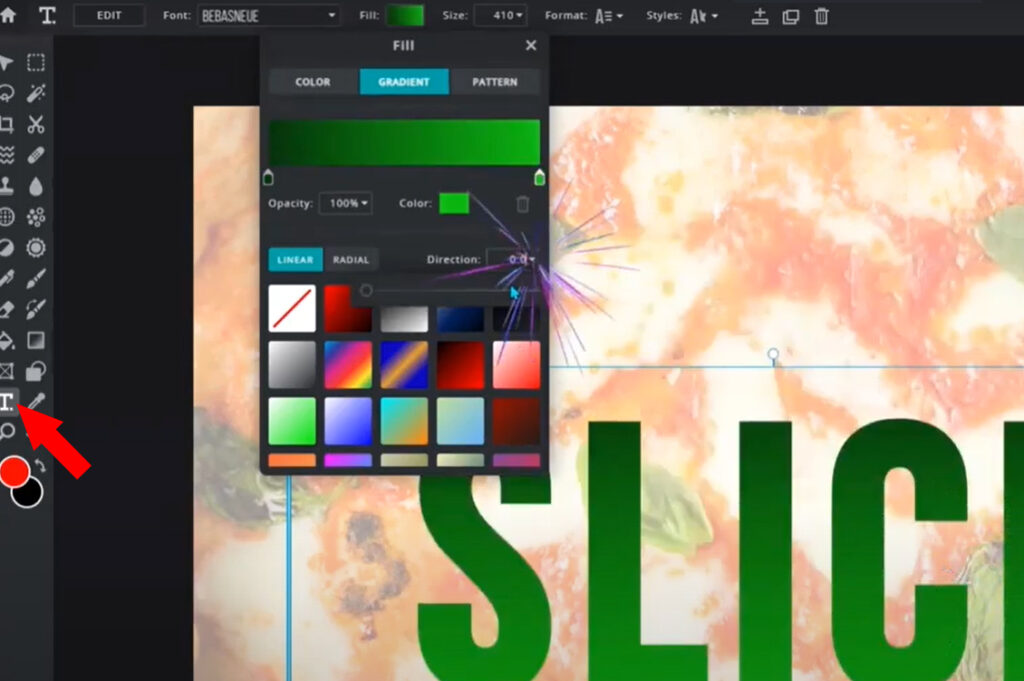
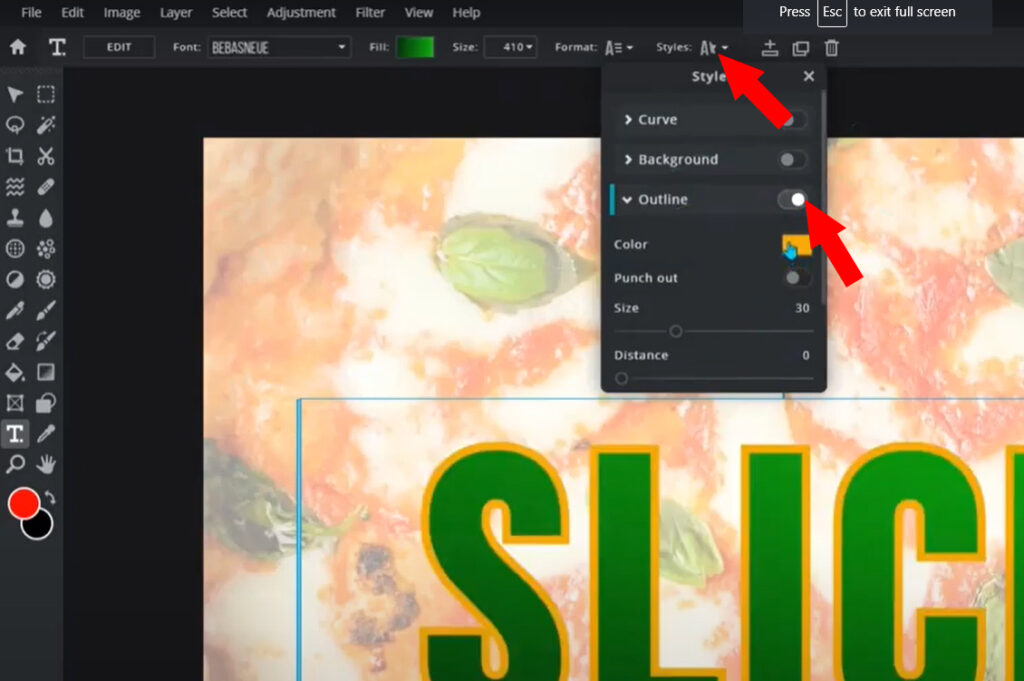
2. The following are the settings used for the ‘SLICE’ text.
- Font: BebasNeue, Size: 410, Style: Bold
- Outline Color: Yellow
- Letter Spacing: 18
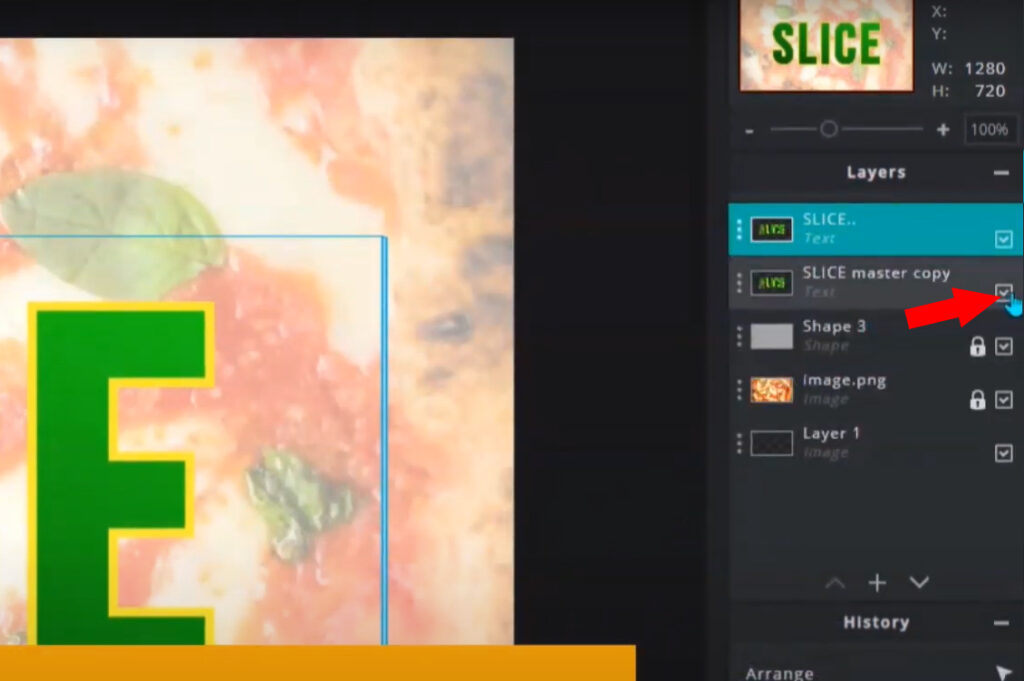
3. Name this layer as ‘Master Copy’. To do so, click the three dots of the text layer and change the name from there.
Step 5: Rasterize the duplicated master copy
1. Duplicate the master copy. You should have two layers of ‘master copy’ by now.

2. Hide one copy, and work with the visible one.
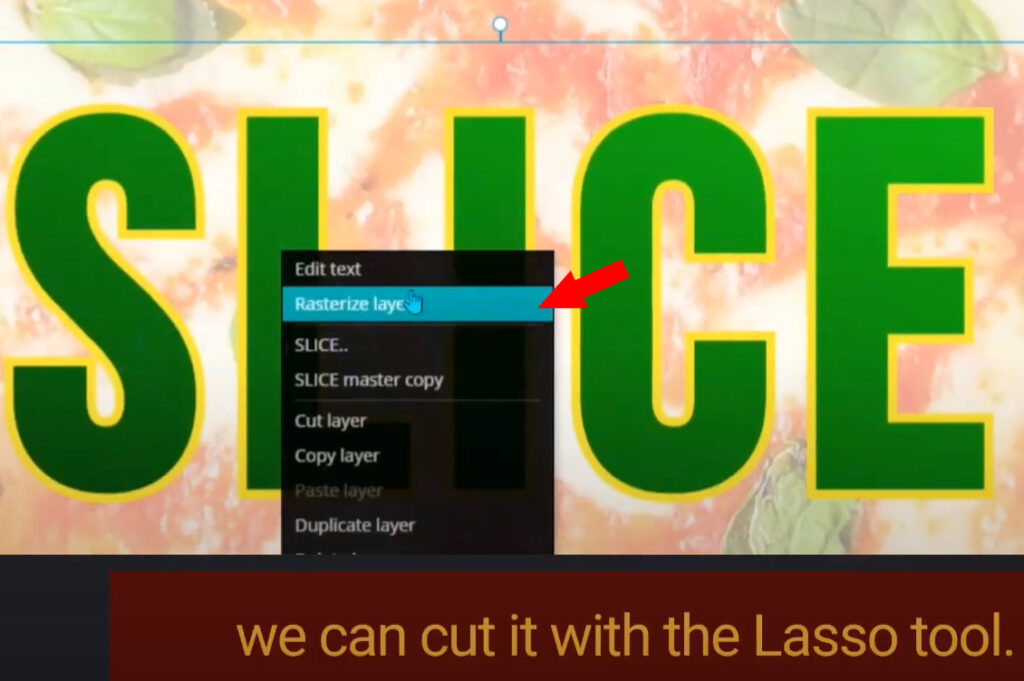
3. Right-click the text on the canvas and click Rasterize. Alternatively, while the text is selected you may click Layer from the main menu, then click Rasterize layer.
Step 6: Cut the rasterized text with Polygonal Lasso tool
1. Select the Lasso tool then choose Polygonal
2. Make a selection covering half the ‘SLICE’ text.
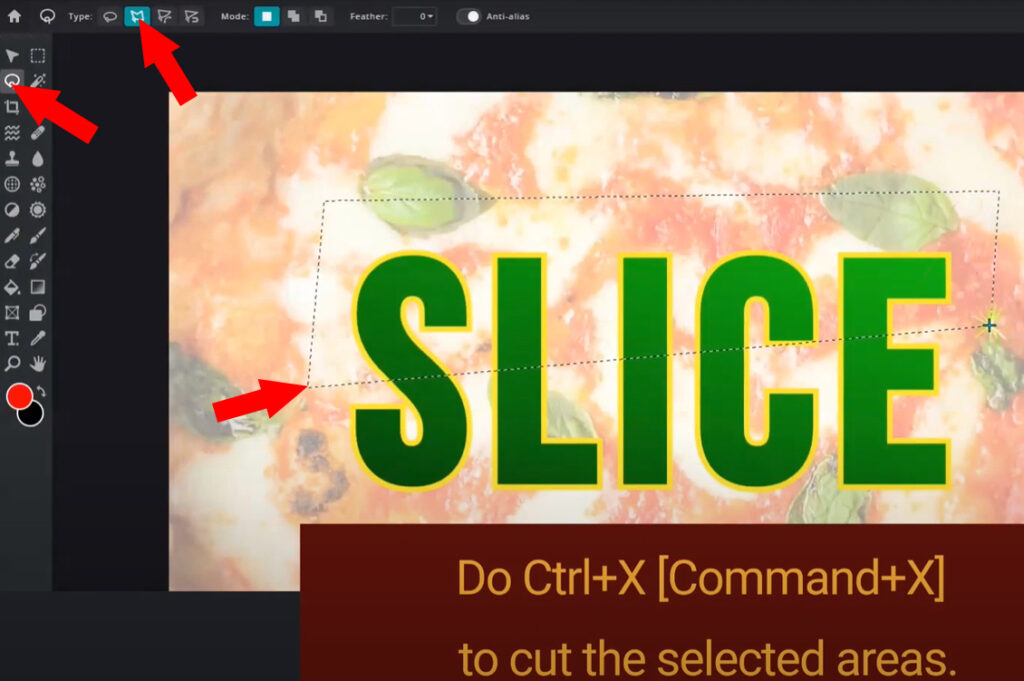
3. Do Ctrl+x (or Command+X) to cut the selected area.
4. Do Ctrl+V (or Command+V) to paste the cut area into a new layer. You should have two separated layers for the ‘SLICE’ text by now.
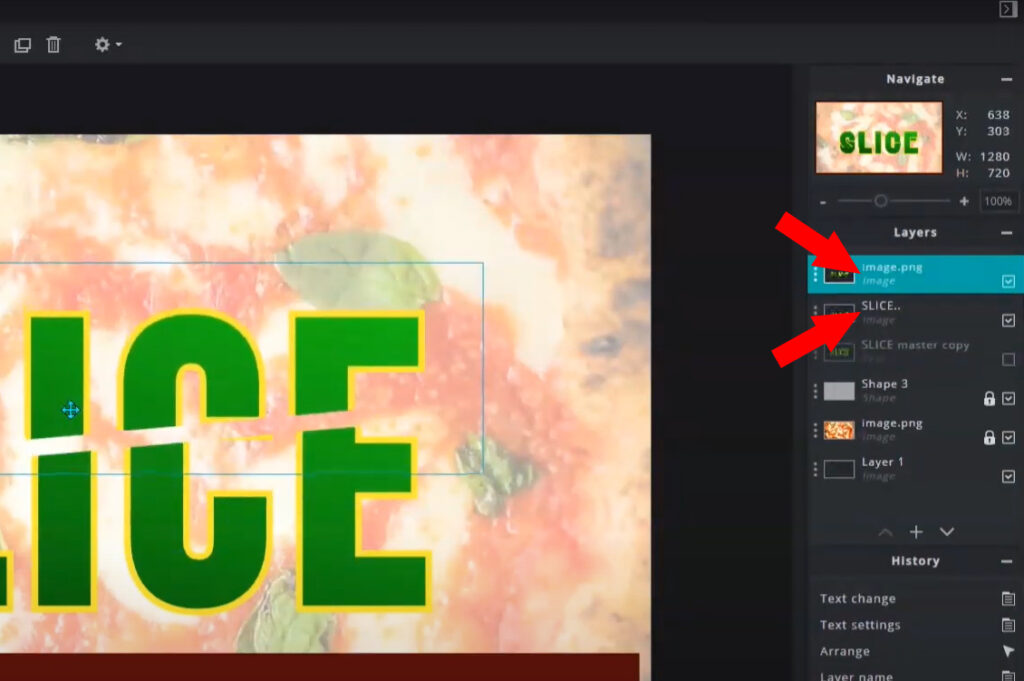
4. Use the Arrange tool or the keyboard arrow keys to position the new layer accordingly.
5. Lock the two layers.
At this point, you are done with the desired ‘SLICE’ text effect. You may want to watch the video above to finish the same output as in the video. Congratulations!