All our files and folders created with Google Apps are saved in Google Drive. It is a good practice to organize our files and folders in a meaningful way so that we know where to get our files the next time we need it.
Here’s how you go to Google Drive and make folders.
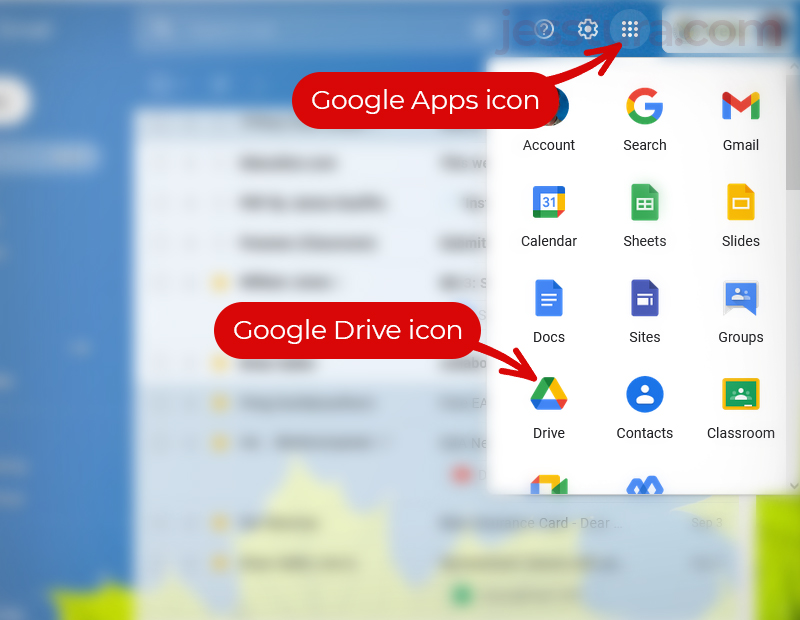
Step 1: Locate Google Apps and click Google Drive.
Once you are logged in to your Google Account (Gmail or Google Classroom), find the Google Apps icon and click it. It is the one with 9 small squares. Next is to click the Google Drive icon.
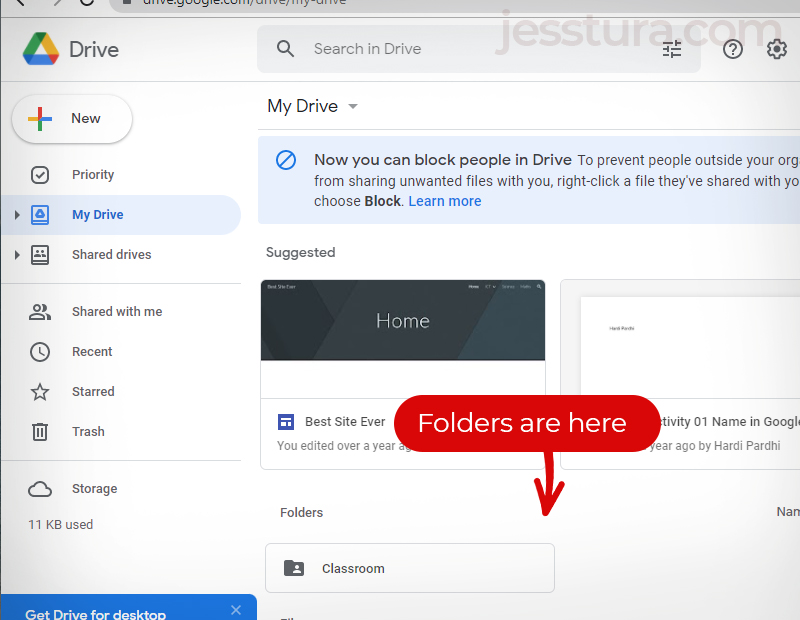
Your Google Drive should look similar to the image below. Take note where the folders are; it is usually at the bottom of your screen. You might need to scroll down to see all your folders, or if it’s your first time to have a Google account, the middle area might be empty for now.
Now let’s learn how to make a folder in your Google Drive.
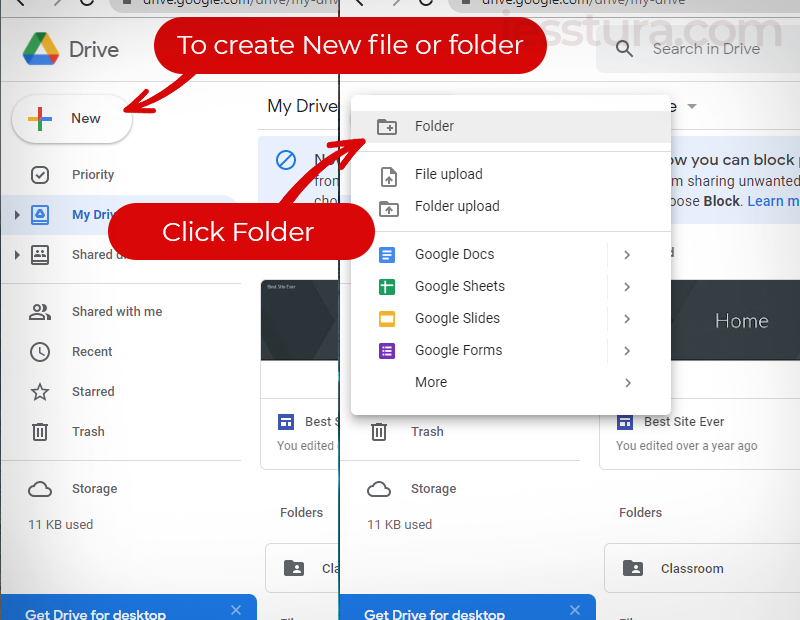
Step 2: Click the colorful plus sign or the New button
Step 3: Then click Folder.
Step 4: Type the folder name, then click Create.
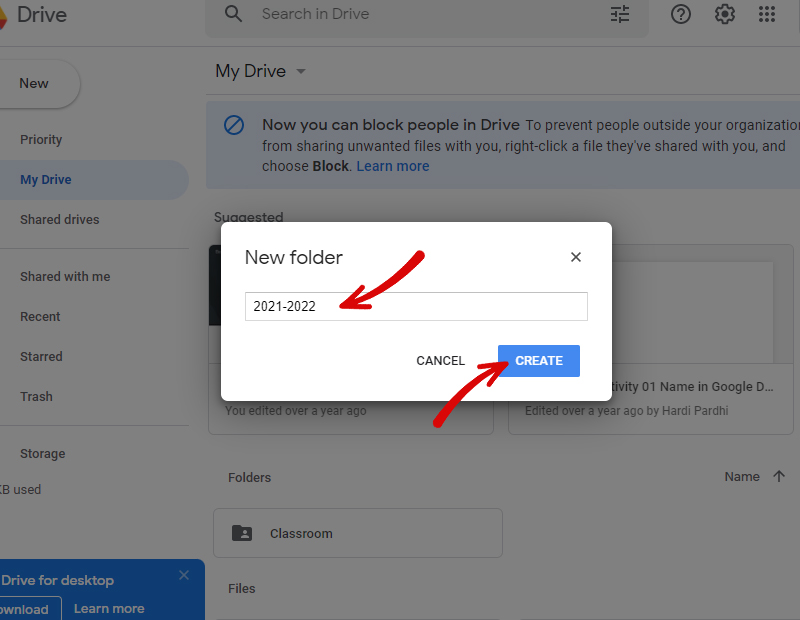
Your new folder will be added to your folder list.
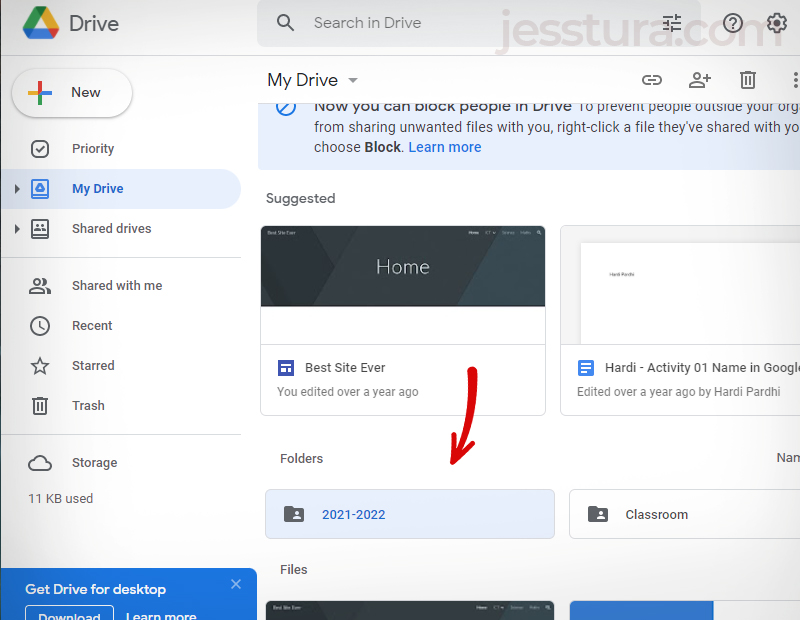
In case you need to make another folder (or a file inside a folder), you need to open the folder first and create the file from there. In this example, we will make another folder inside ‘2021-2022’ folder and we will name it as ‘GDocs’.
Here’s how make you another folder inside a folder (subfolder).
Step 1: Double-click the folder you want to open.
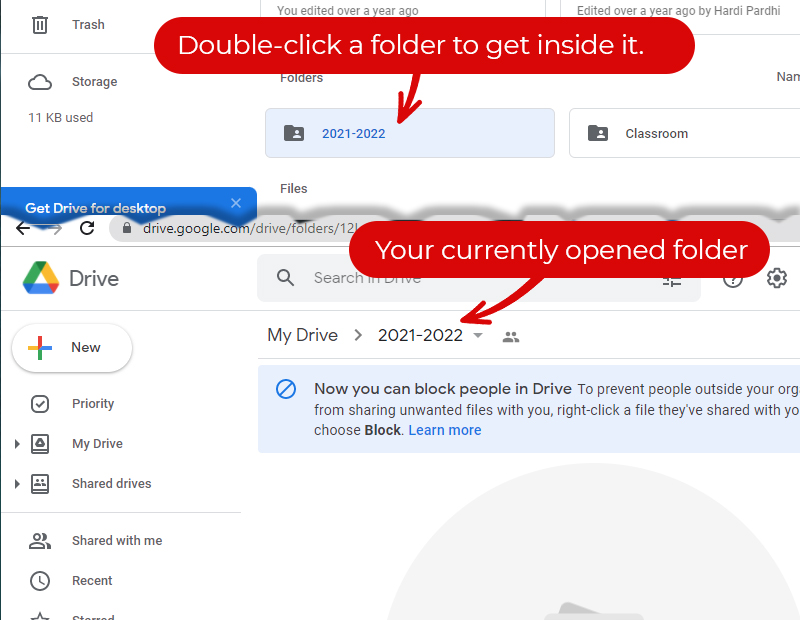
Your folder name should be listed in the Folder path as shown above. The folder path now is ‘My Drive > 2021-2022‘.
Step 2: Click New again, then Folder.
Step 3. Name your folder as ‘GDocs’.
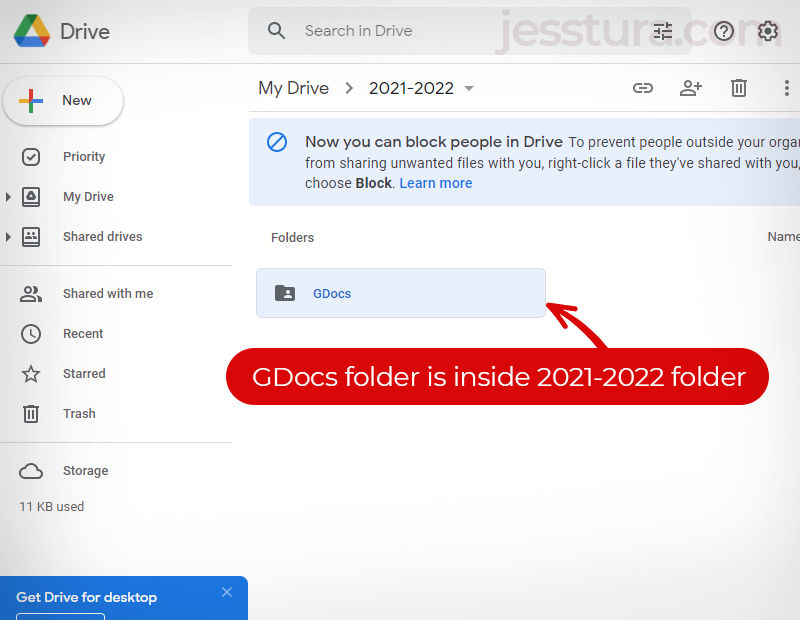
You need to double-click your GDocs folder if you want to see the files and folders inside it. Of course, for now it’s empty. And take note of the foder path now: it is ‘My Drive > 2022-2022 > GDocs.
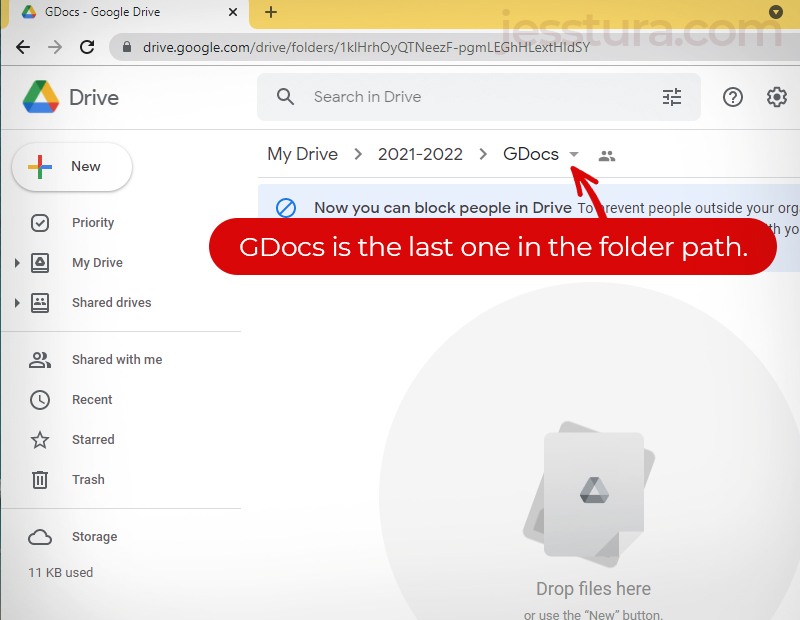
That’s all. You can now start adding files to your new folders.
Do you want to start with a new Google Docs file inside this GDocs folder? Check this tutorial and follow the instructions there.

One thought on “Making folder and subfolder in Google Drive”