Here’s how to put the image behind the text and to darken it in Google Docs.
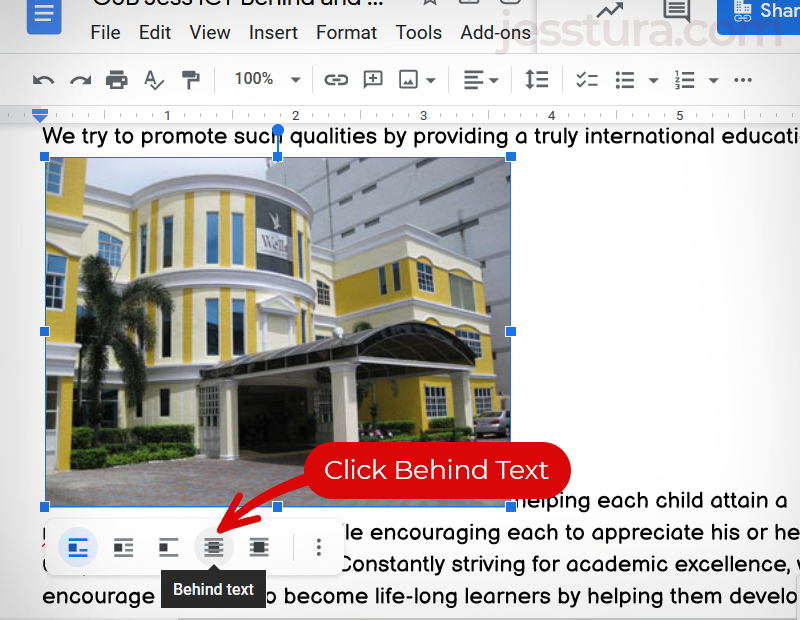
Step 1: Select the image and click Behind Text.
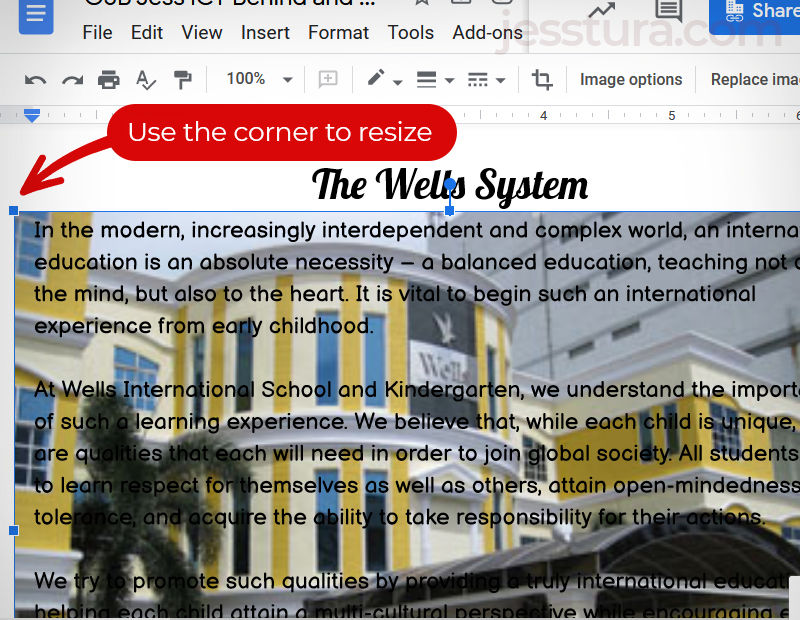
Step 2: Position and Resize
Position the image by selecting it first and dragging it. You may also want to resize the image by moving your mouse to the corner. Drag the corner to make the image smaller or bigger.
Step 3: Click Image Options.
Be sure to select the image first to see the Image Options button.

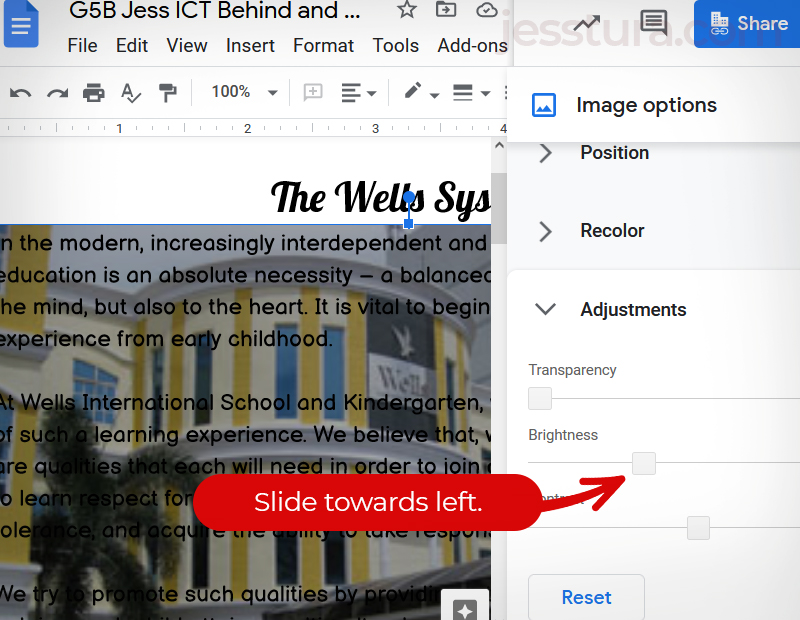
Step 4: Adjustments and Decrease Brightness
Now go to Adjustments and decrease the Brightness by sliding the handle towards left.
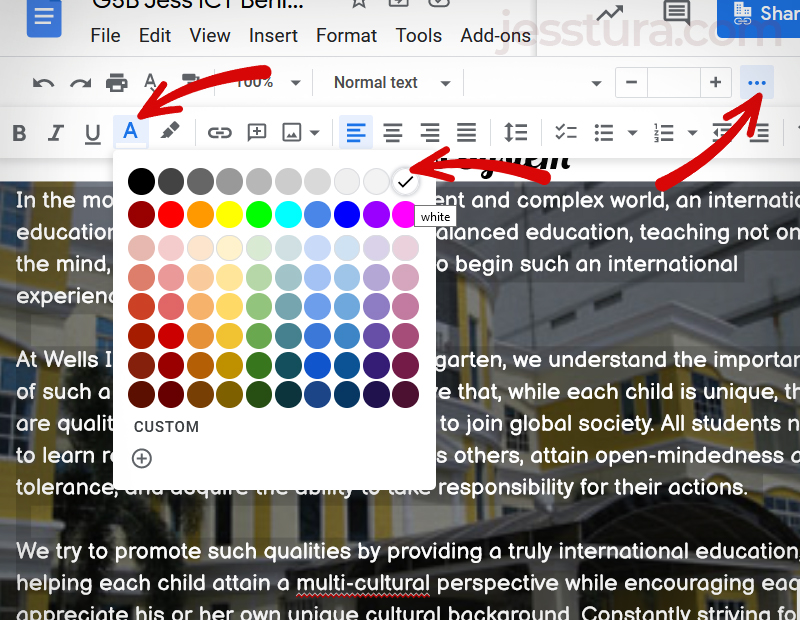
The image is now darkened. You might want to change the color of the texts so that it will be readable.
Step 5: Select the texts, and change its color to White (or any brighter color).
That’s all! 🙂

One thought on “Image Behind the Text, Darkening the image in Google Docs”