Here’s how you insert an image via “Search the Web” in Google Docs
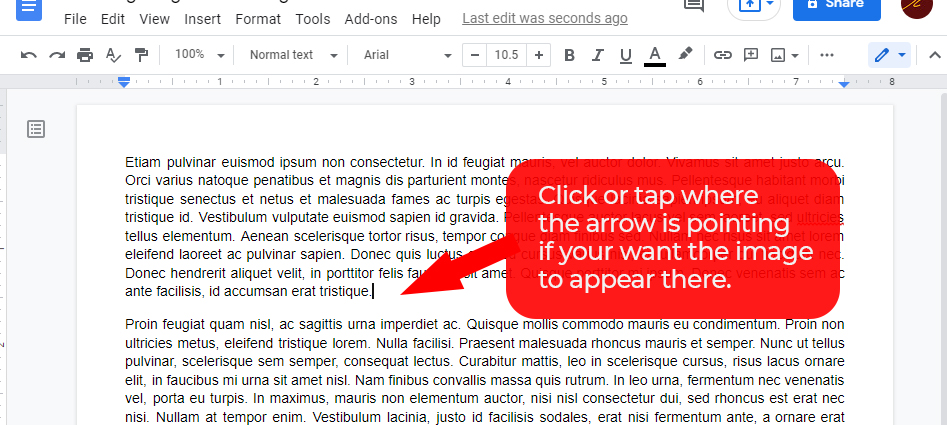
Step 1: Place the insertion point (the blinking cursor) in the document where you want to put the image.
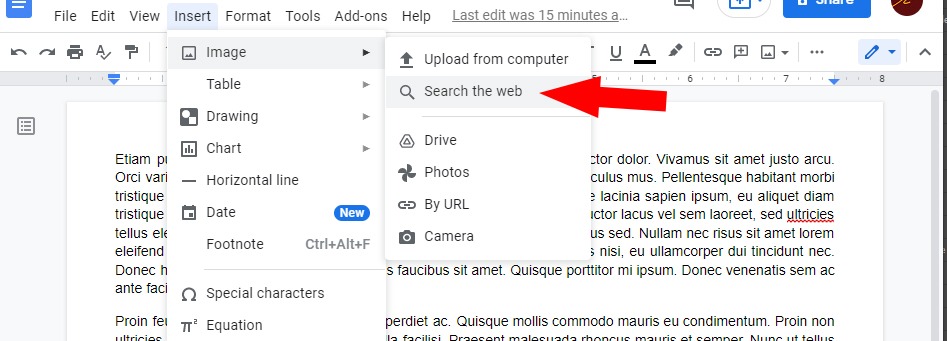
Step 2: Click Insert > Image > Search the web
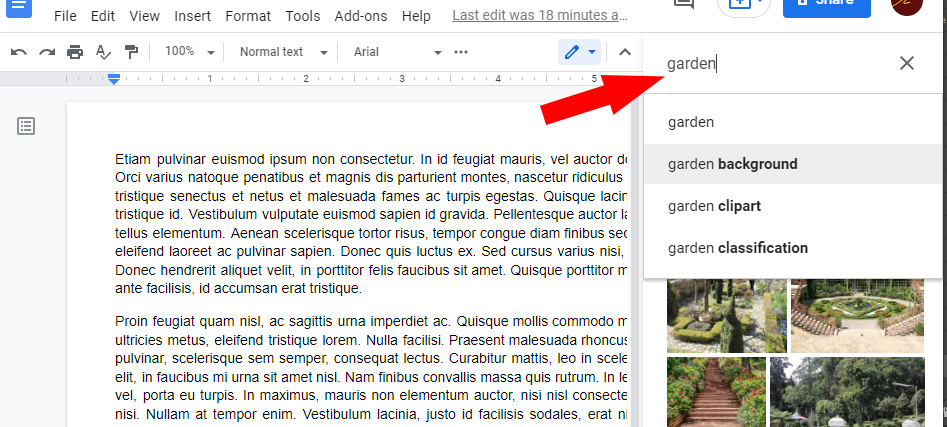
Step 3: A Search box will appear allowing you to type the name of the image you are looking for.
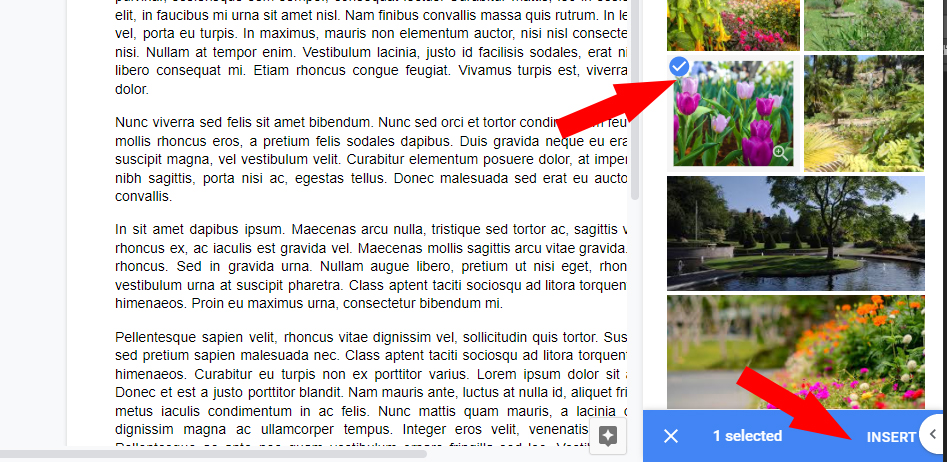
Step 4: Select the photo that you want by tapping or clicking it.
Step 5: Click the Insert (bottom of the screen).
The image should now appear in the document.
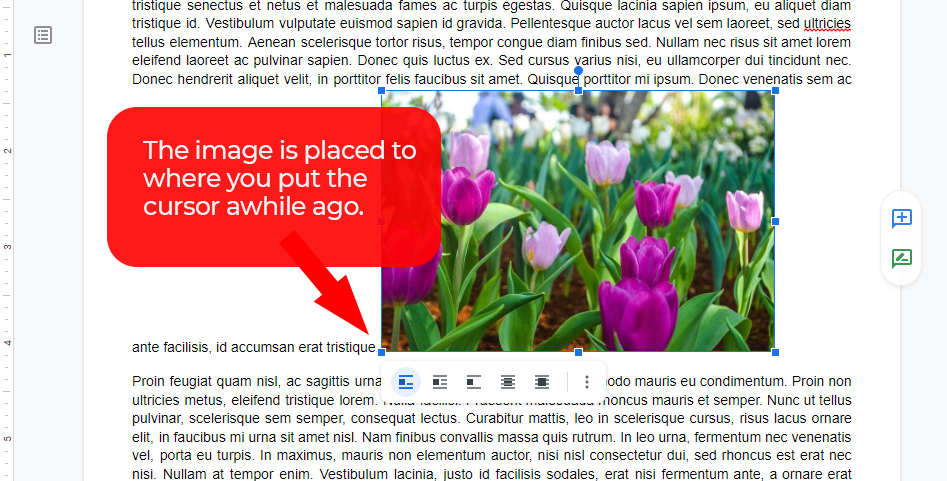
To Resize the image
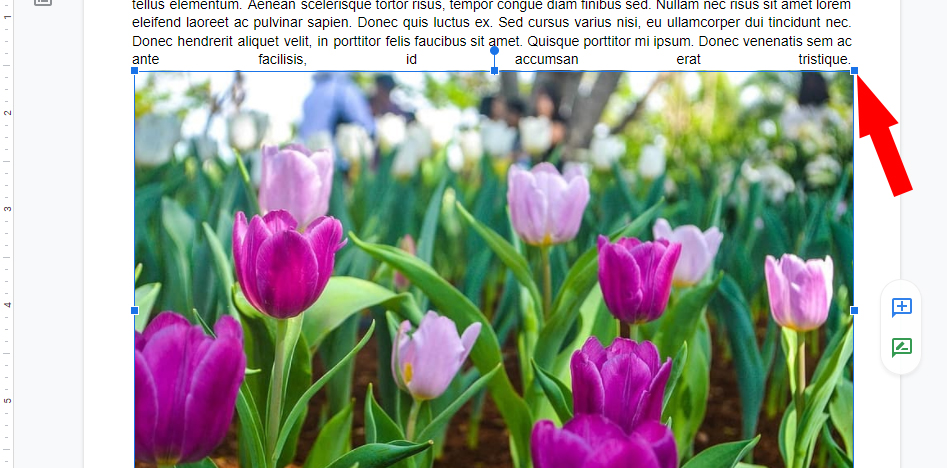
Step 1: Select the image
Step 2: Drag one of the corners to make the image bigger or smaller.
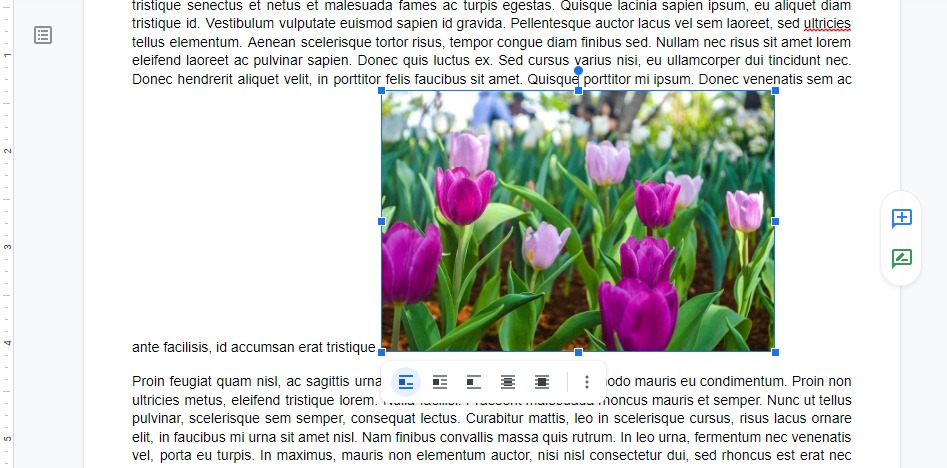
Positioning the image
Positioning the image is quite challenging (at first). You need to know the different behaviors the positioning options give you:
In line: This option aligns the text with the image, but gives you less freedom in moving the image where you want.
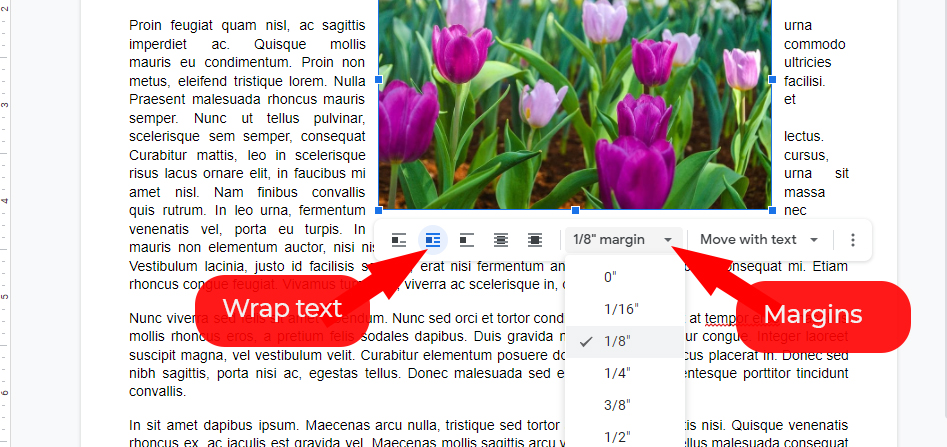
Wrap text: This option causes the text to wrap around the image. You might need to set the margins surrounding the text to get the desired spacing between the image and the text.
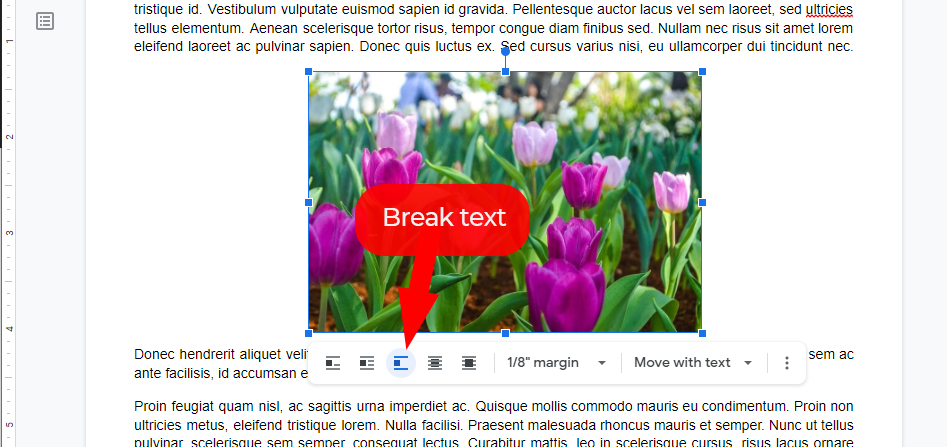
Break Text: This option will force the text to be placed above or below the image, not left or right.
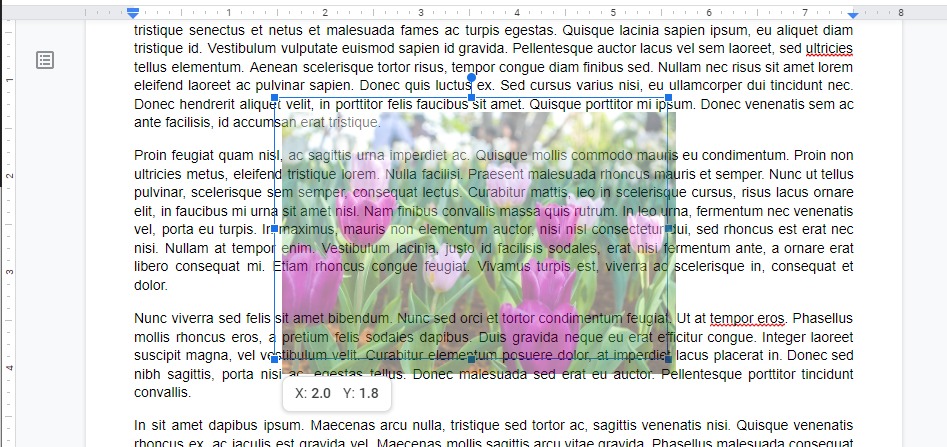
Behind text: This option will move the image behind texts, and will give you freedom to position the image in the exact place you wanted it to be.
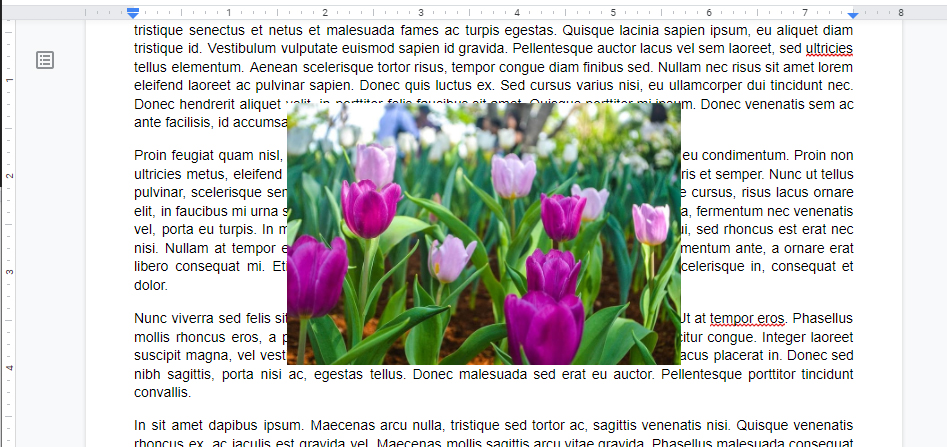
Infront of text: This option will move the text behind the image, it will also give you the freedom to move the image anywhere in the document.
Once you understand how these different positioning behave, you will be able to decide which positioning option is the best for your work.
To Delete an image
Step 1: Select the image
Step 2: Press the Backspace or Delete key


One thought on “Inserting, aligning, resizing, and deleting images in Google Docs”